Diana Hernandez
Animated Avatar


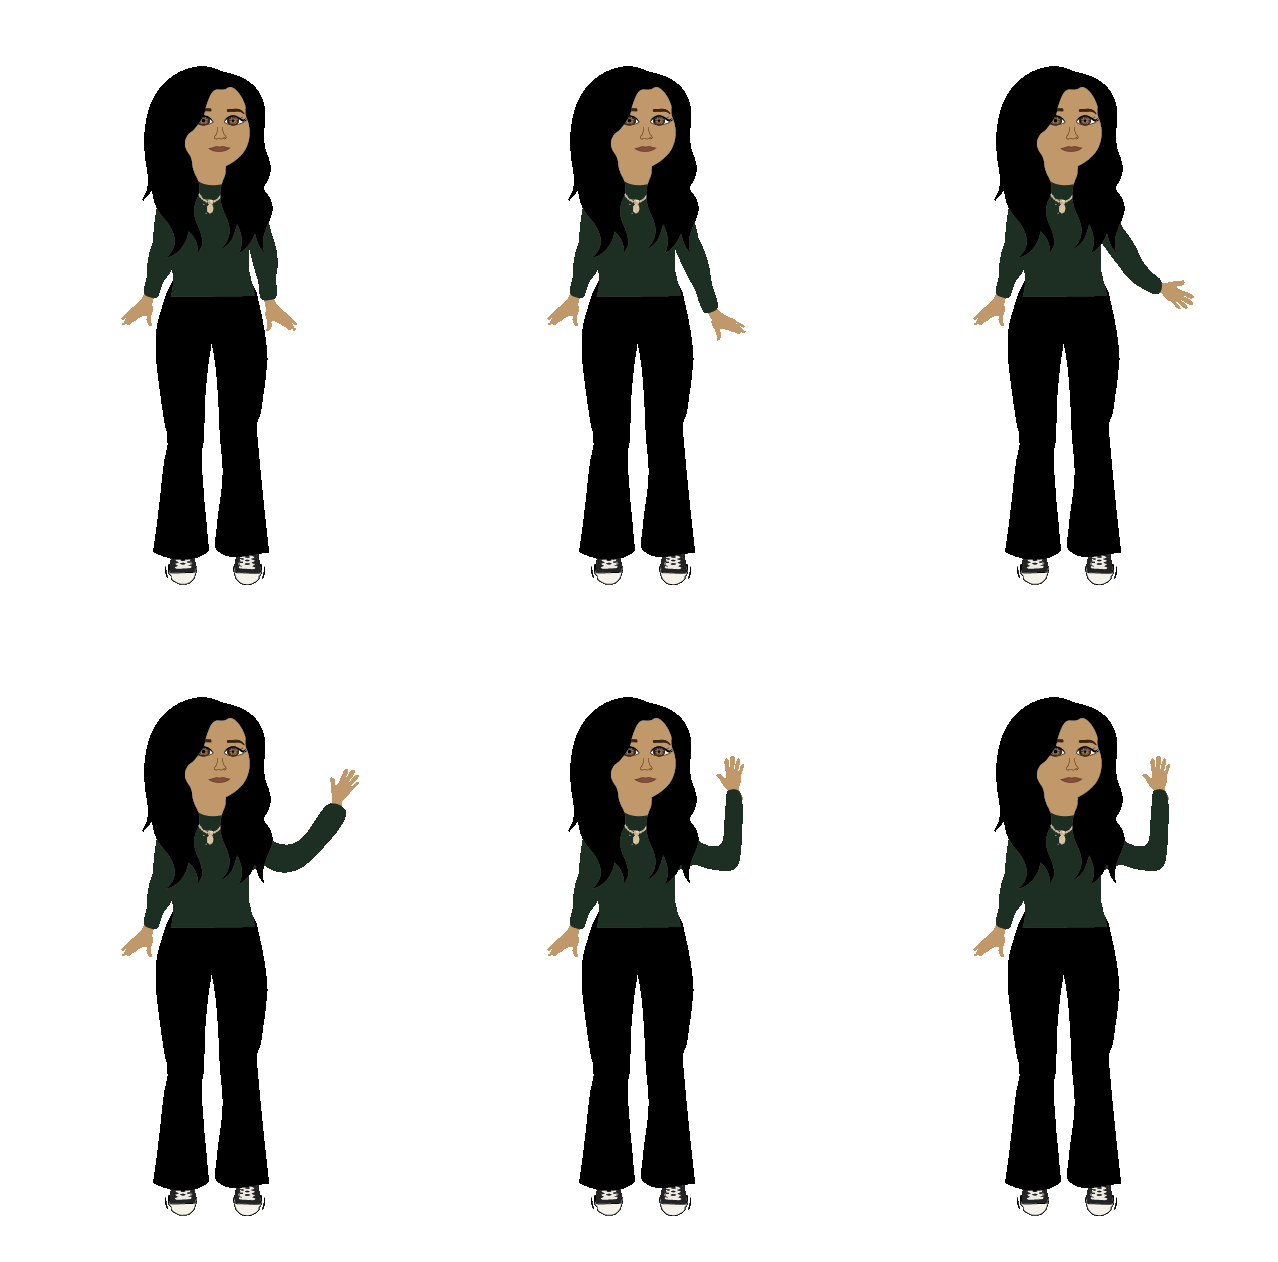
Some steps I took to create my animated avatar included opening Adobe Illustrator and starting with a blank page. I began by creating the shape of my head, ensuring it matched my hair. I searched Google for images of animated girls and, once I found one I liked, I dragged it to my blank page and traced it with the Curvature Tool. After finishing the head shape hair, I moved on to creating my face. To make my eyebrows, I found an image on Google, saved it, and traced the eyebrows. I continued using this method for the rest of my face. For the body, I searched for animated clothes on Google and used the Curvature Tool to trace the clothes, adjusting them to form the arms and upper body. For the legs, I found an image and clicked on the Image Trace button, expand, and then ungrouped it so I could adjust the pants; I repeated this step for the shoes and necklace. To create the GIF, I copied my artboards ten times and then exported them. After copying them, I adjusted one of my arms to make it look like it was waving hello. The most challenging part of creating my avatar was shaping the body; I struggled and was indecisive about how to design it. I created the movement by raising my arm slightly up and moving my hand upward to make it look like I was waving hello. My avatar moved exactly as I wanted it to. One improvement I would make next time is to adjust the arm shape while it’s waving.